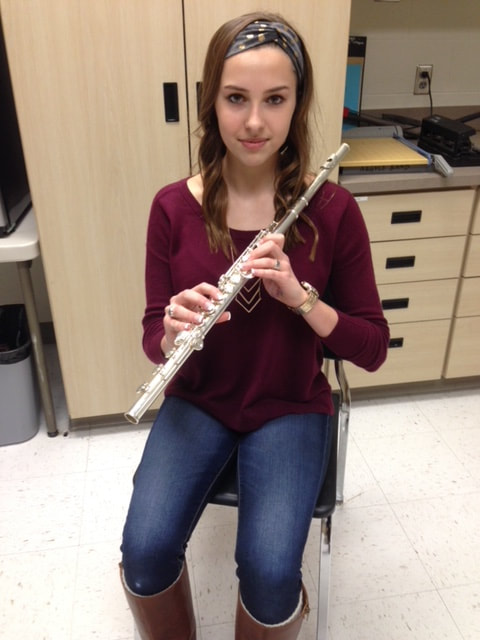
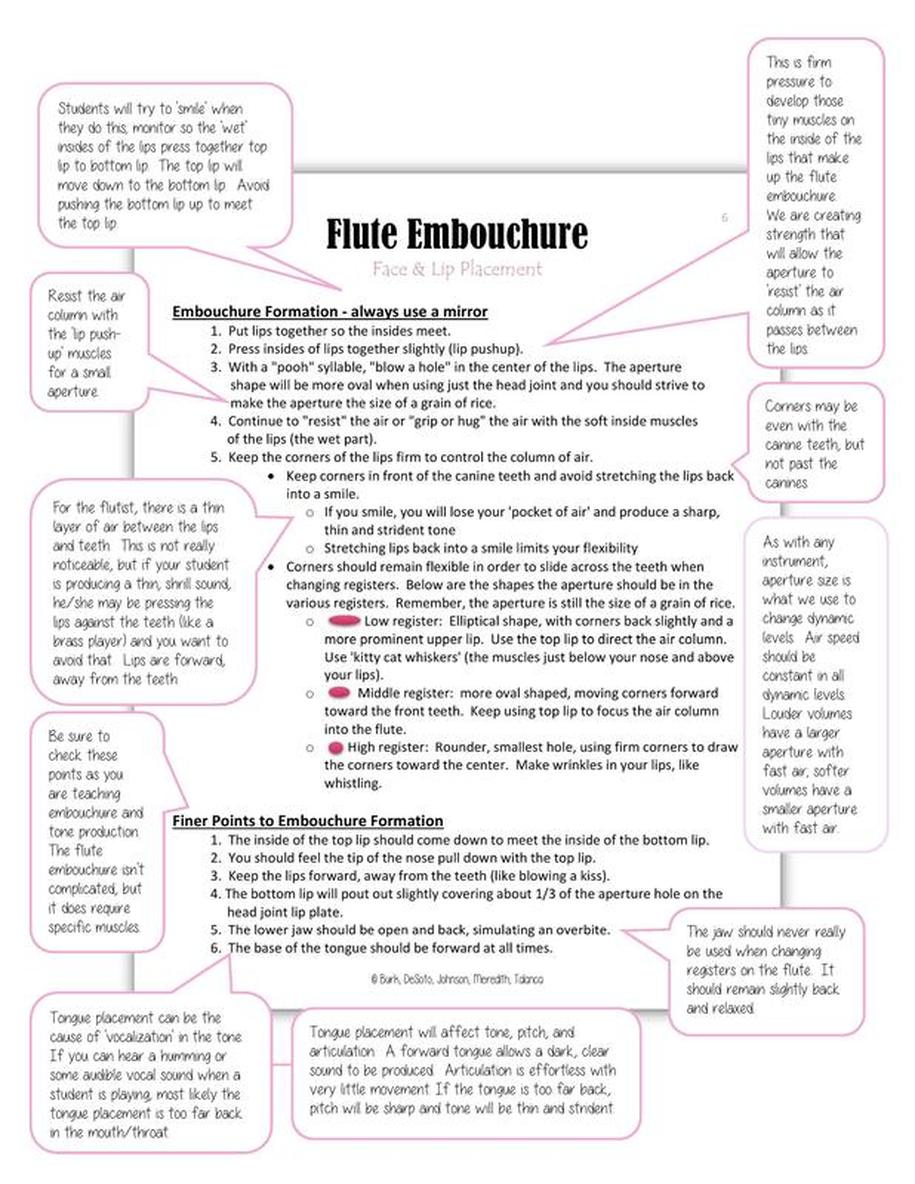
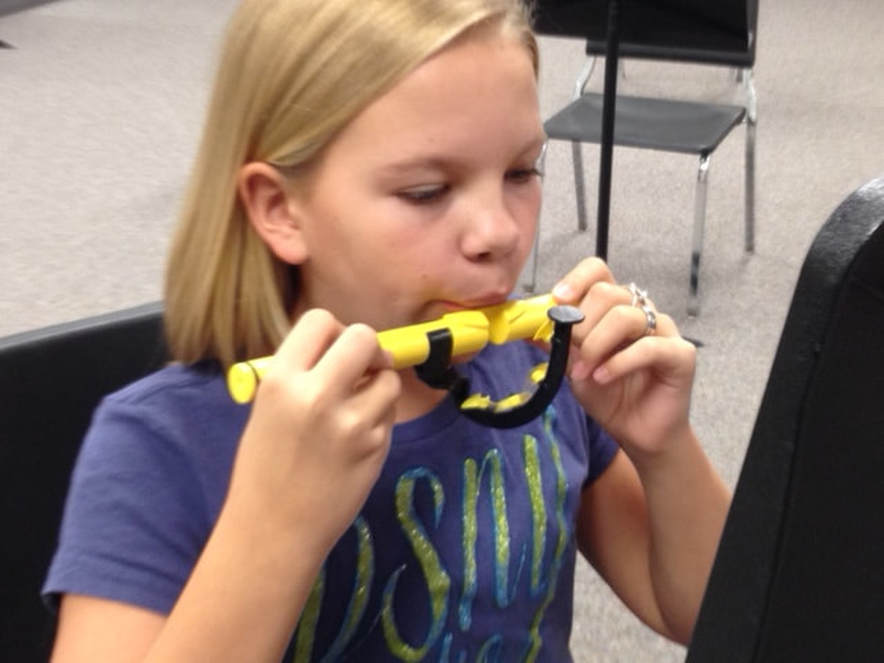
When selecting students to play flute, look for medium full lips that are clearly defined. Try to avoid placing students on flute If they have a ‘teardrop’ or ‘cupids bow’ in the center of the top lip. This can cause the airstream to split and makes producing a good sound nearly impossible. There are exceptions to this too.
All students should know the parts of the flute prior to handling the instrument. Give them a verbal and a written assessment to insure they understand the parts of the instrument.
All students should know the parts of the flute prior to handling the instrument. Give them a verbal and a written assessment to insure they understand the parts of the instrument.

Teaching Flute Assembly
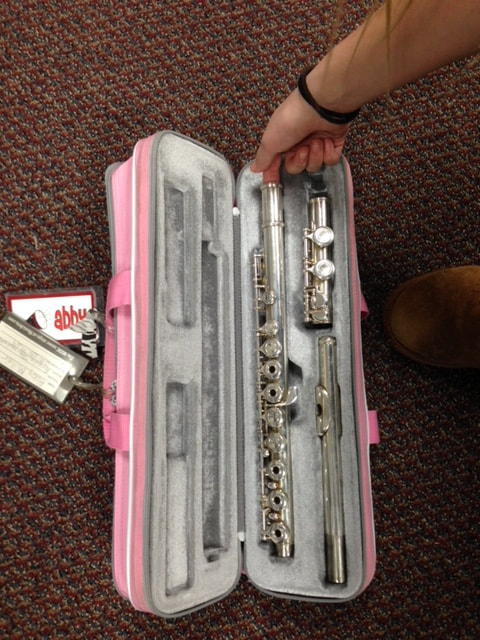
Prior to learning to assemble the flute, students should be tested on the instrument parts. Students should know and be able to label each part of the instrument including keys, rods, and springs. It is important that they have an idea on how the instrument works and what can happen to make it stop working. Learning the parts is a good activity to do during the period of time the students are learning to play with a characteristic sound. Let them open their cases each day to see the instrument and to point out the parts and pieces of the instrument. A page is included with the parts labeled and a sample test is included as well.
All students should be tested on instrument assembly prior to being allowed to take it home the first time. One way to do this is to have them demonstrate the assembly individually. Each student will in turn go through the same process, in order, with the correct terminology.
There are many ways to correctly assemble the flute; the point is that you should have a method of doing it the same way every time. This will help to prevent damage to the instrument due to mishandling. Young instrumentalists are anxious to get to the entire instrument and by making them go through the same process in assembling their instrument each time, they will learn to respect the instrument and appreciate all of the intricate workings of their instrument.
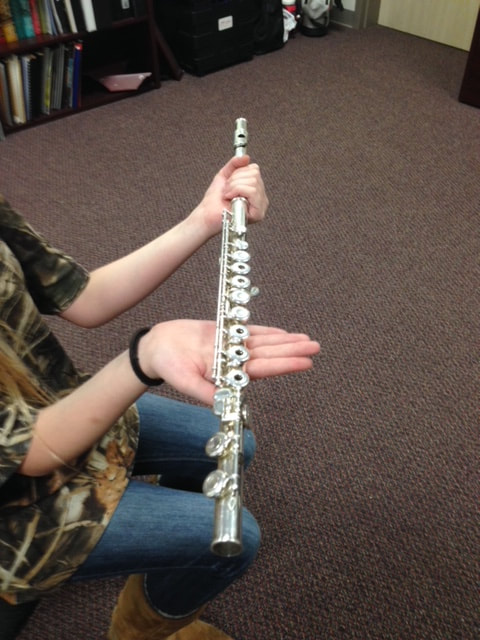
Head joint to Body
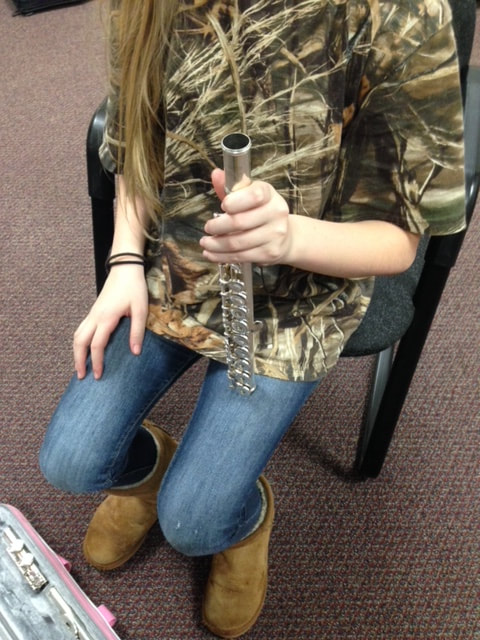
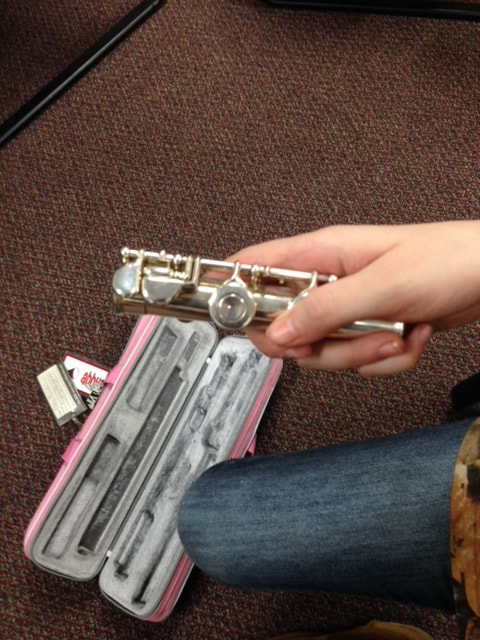
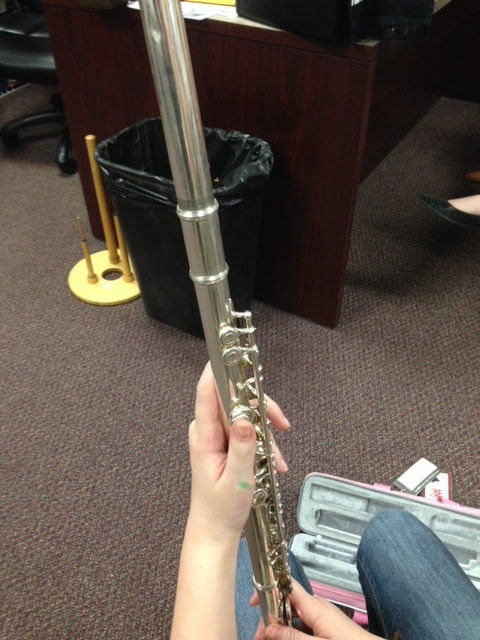
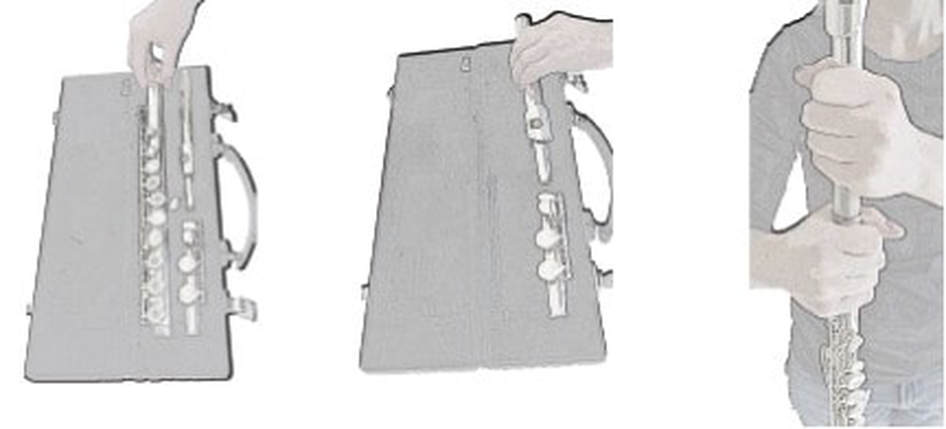
- Hold the body of the flute in the right hand grasping the instrument at the barrel
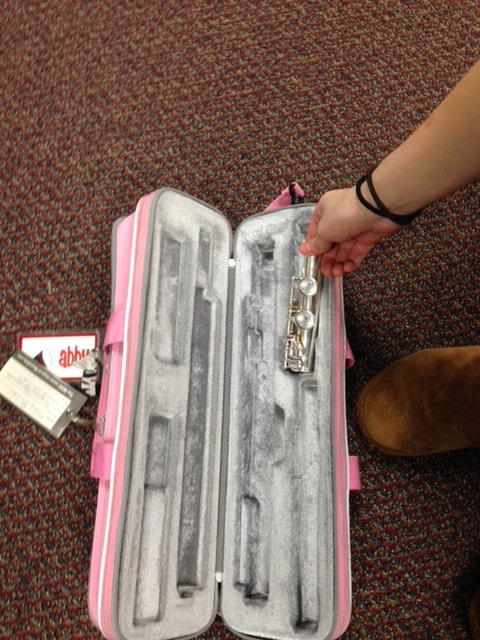
- Grasp the head joint in the left hand just below the lip plate z Careful not to grasp the lip plate, as it may break off i
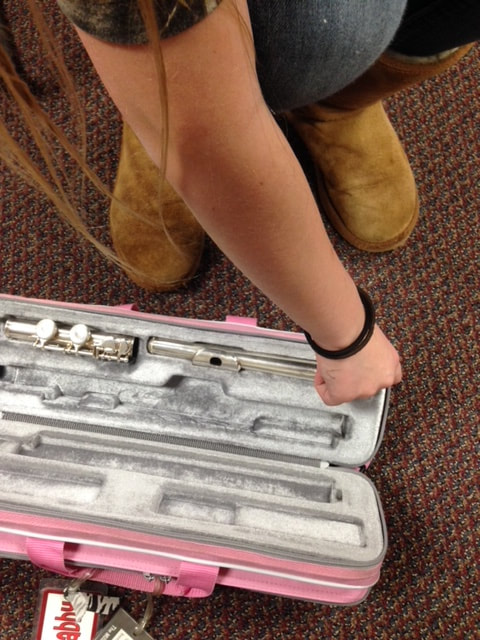
- Insert the head joint into the barrel of the body by gently twisting as you push inward
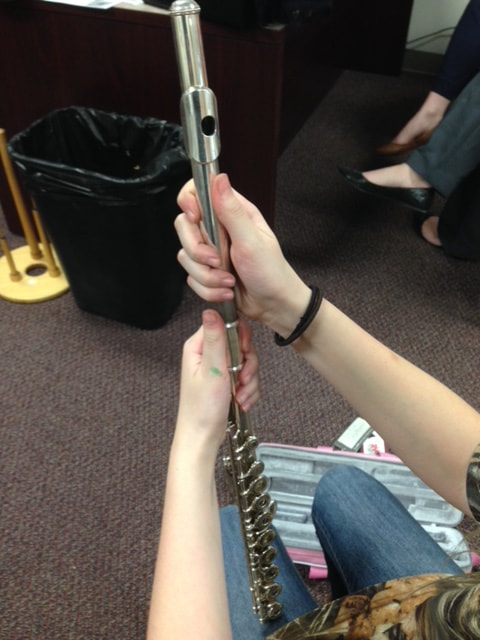
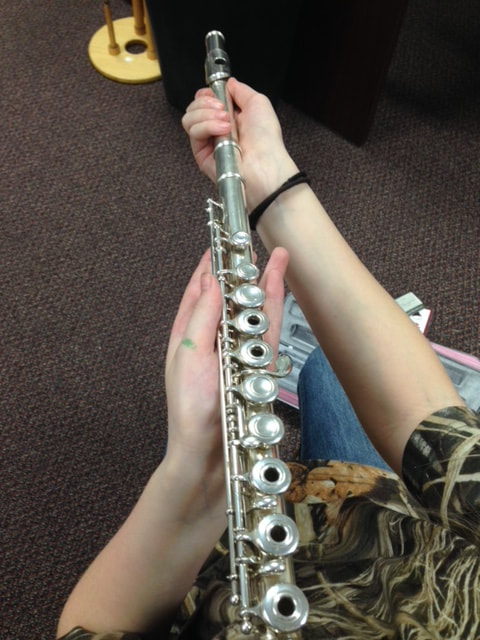
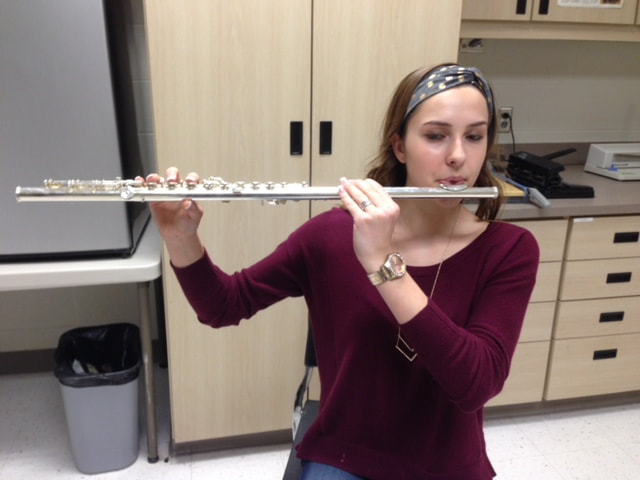
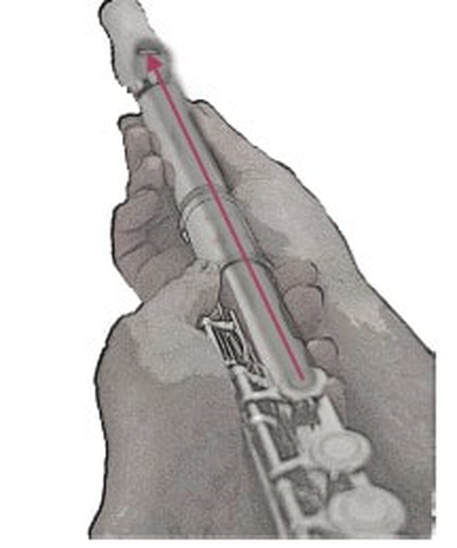
- Line up the aperture hole with the first key on the body of the flute. To do this, line the flute up under your eye, like lining up a sight on a target, and you should be able to see both the aperture hole and the first key on the body.
- This step is very important, as improper head joint alignment can cause a multitude of problems.
- Always check the alignment of each flute before your students begin playing. Eventually, your students will get better at lining up the head joint and will no longer need assistance.
- The head joint should not be pushed all the way in. The flute is built to allow fluctuation in pitch, so begin by having your students pull the head joint out about ¼ of an inch.
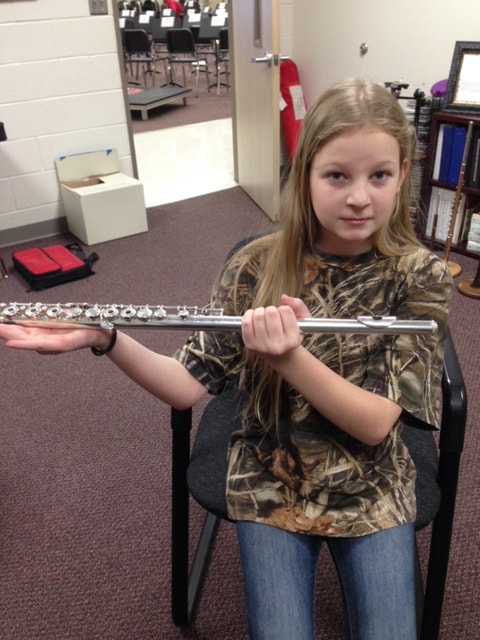
Foot joint to Body
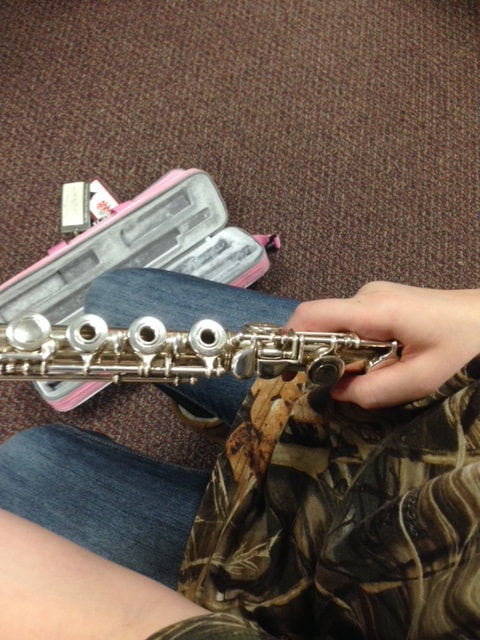
- Hold the body of the flute in the left hand, again at the barrel
- Grasp the foot joint in your right hand gently depressing the keys on the end of the foot joint closed with your thumb.
- This is to insure that the keys aren’t accidentally bent due to the hand slipping and bending the keys backwards.
- Gently twist the foot joint onto the sleeve of the body
- Line up the rod of the foot joint with the center of the last key on the body